How to Clean Rubber Gym Flooring Without Leaving It Slippery
The safest general method: vacuum or dust-mop loose grit, clean a small test area with the flooring maker's approved diluted cleaner and a microfiber pad or soft nylon brush, recover the dirty solution, rinse if the product instructions require it, and let the floor dry completely before training.
Do not assume that vinegar, bleach, solvent, steam, a stiff brush, or a heavily scented degreaser is safe for every rubber floor. Product construction, adhesive, finish, warranty, and cleaning chemistry vary.
Check the Floor Before You Add Water
Find the brand, product line, installation method, and care sheet if possible. A loose-laid stall mat, interlocking tile, glued commercial roll, and sealed vulcanized surface may have different limits.
| Check | Why it matters | What to do |
|---|---|---|
| Loose or lifted seams | Liquid can reach the subfloor or adhesive | Repair or isolate the area before wet cleaning |
| Unknown cleaner | High pH, solvent, oil, or residue may discolor rubber or reduce traction | Test an inconspicuous spot and follow the flooring maker's dilution |
| Standing water or musty odor | The problem may be moisture below the surface | Stop adding water and find the source |
| Powered equipment | Cords, outlets, and machine bases complicate wet work | Unplug where the manual permits; never wet electrical components |
| Fresh installation | Adhesive cure time may restrict cleaning | Follow the installer's written handover instructions |
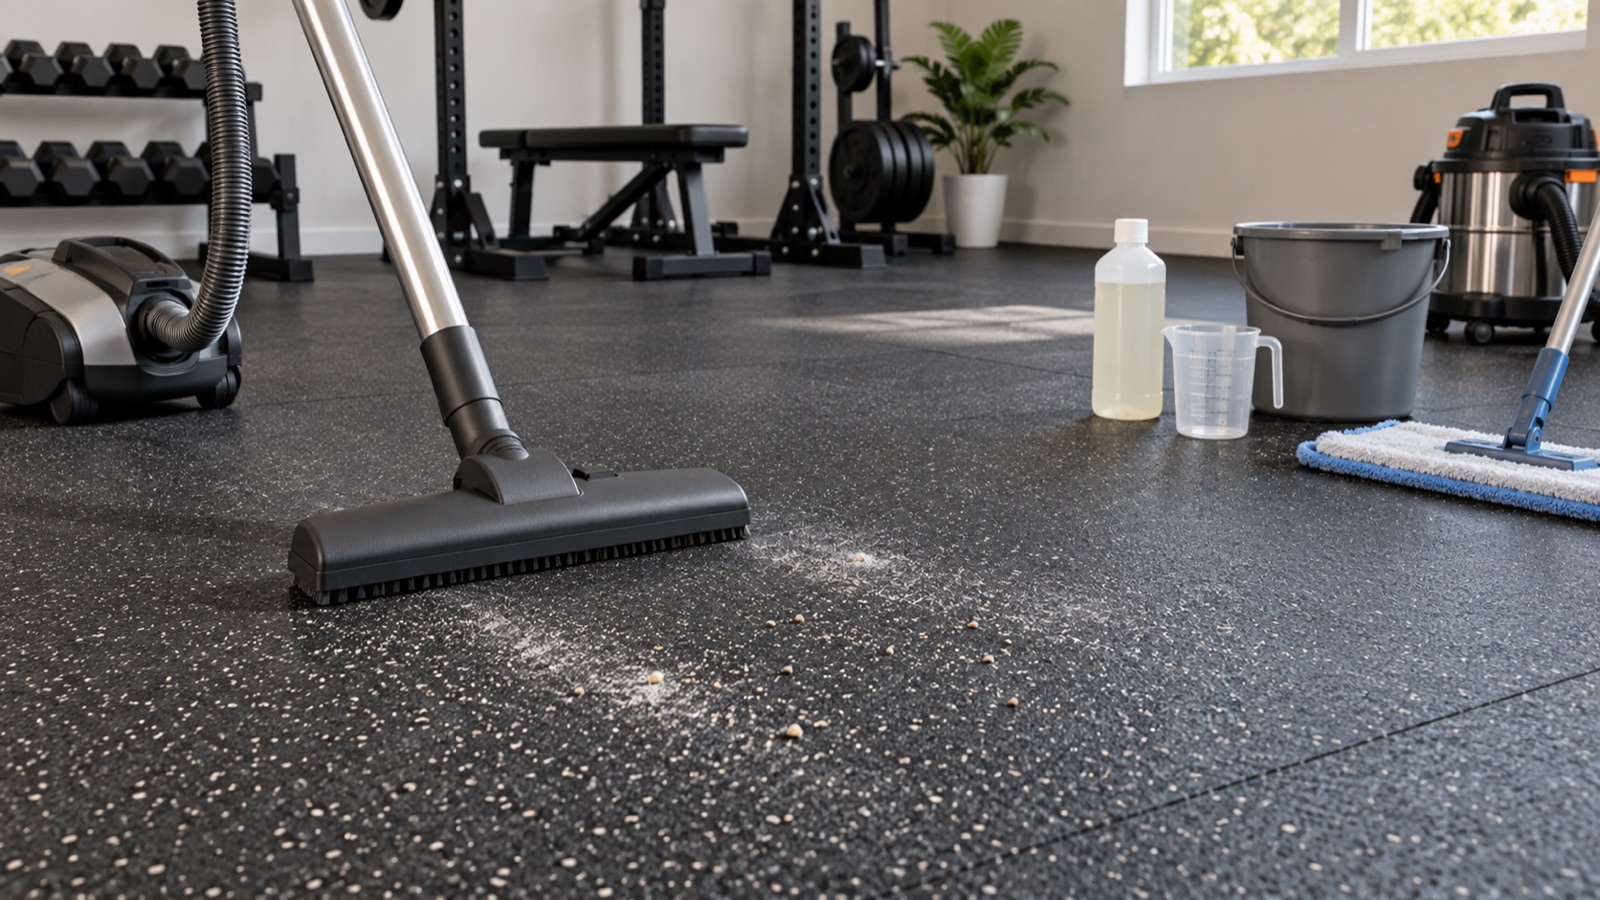
Step 1: Remove Dry Grit First
- Clear movable accessories and store plates so every travel path is visible.
- Vacuum with a non-marring floor head, or use a clean dust mop or soft broom.
- Work along seams and around rack feet, machine levelers, and wall edges.
- Pick up metal fragments immediately; they can cut flooring and tires.
Skipping this step turns grit into abrasive slurry and makes the wet pass less effective.
Steps 2–5: Clean, Recover, Rinse, and Dry
- Mix exactly: use cool or lukewarm water and the cleaner and dilution listed for your floor. More concentrate does not mean cleaner.
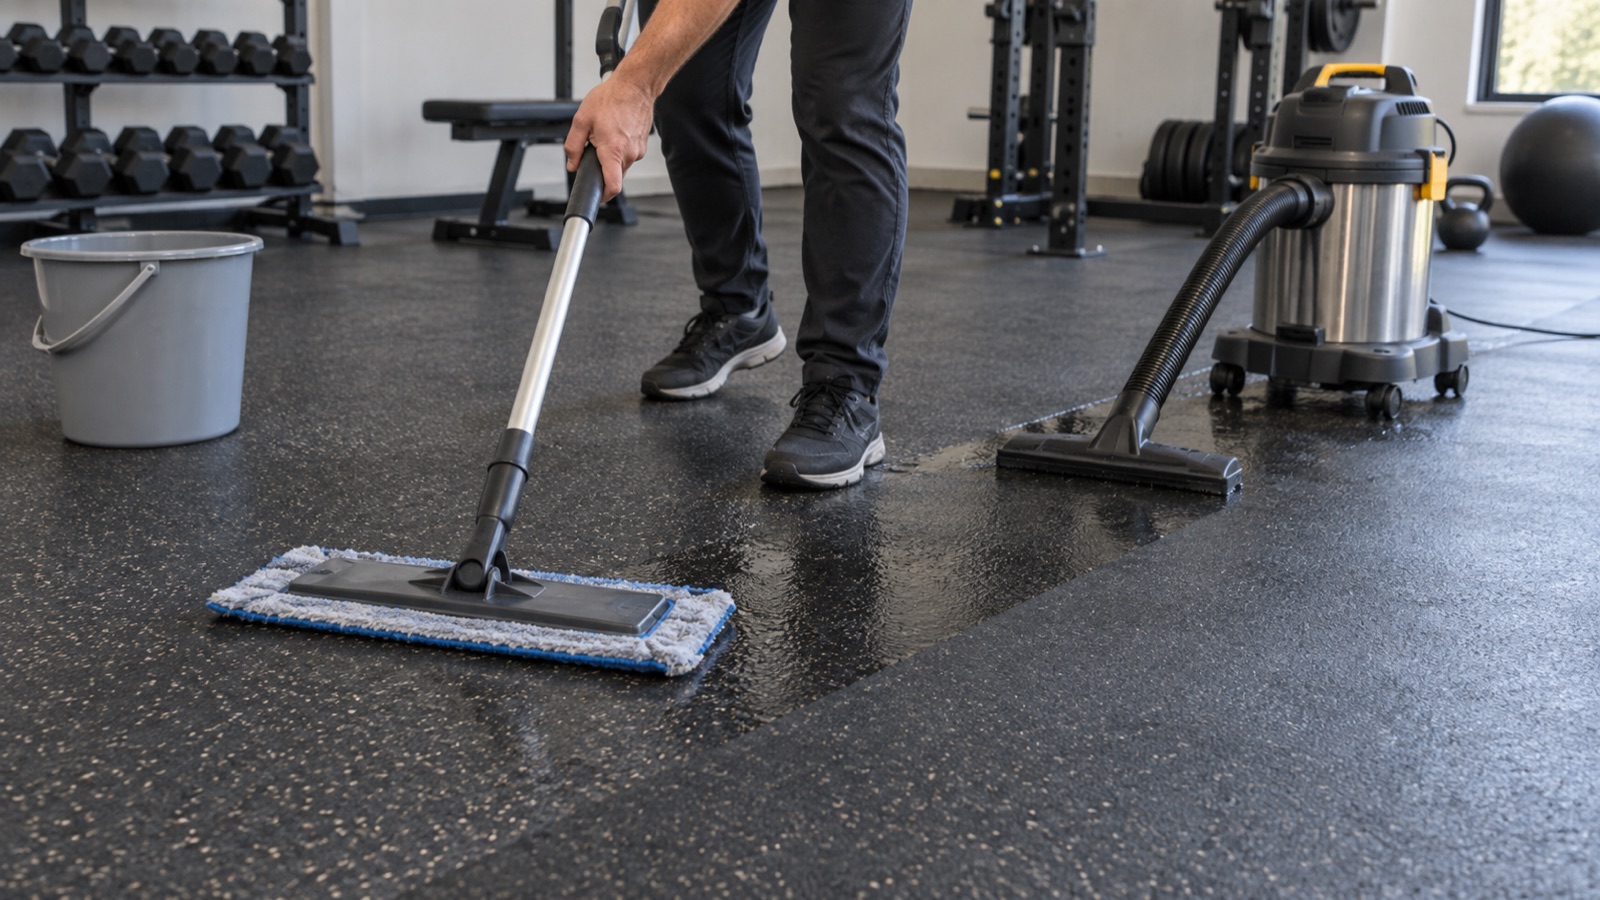
- Work in small sections: apply only enough solution to keep the pad moving. Agitate with microfiber or the pad/brush grade approved by the manufacturer.
- Recover the soil: pick up dirty liquid with a wet vacuum, auto-scrubber recovery system, or clean absorbent microfiber before it dries back onto the surface.
- Rinse when directed: some products require a clean-water pass to remove cleaner residue. Recover that water as well.
- Dry fully: ventilate the room and keep users and equipment movement off the area until it is dry and traction feels normal.
Treat the Soil, Not the Entire Room
Spot treatment limits chemical exposure and moisture. Blot spills before scrubbing, work from the outside toward the center, and use a white cloth to check for color transfer.
| Problem | First response | Avoid |
|---|---|---|
| Sweat or sports-drink spill | Blot, clean with the approved diluted solution, then recover and dry | Letting sugar or salt dry into seams |
| Loose chalk | Vacuum while dry, then damp-clean any film | Turning chalk into paste with a wet mop |
| Sticky residue | Identify the substance and ask the flooring maker for a compatible spot cleaner | Solvent, citrus degreaser, or adhesive remover by guesswork |
| Black marks | Test a soft pad and approved cleaner with light pressure | Abrasive pads that change the surface texture |
| Blood or other body fluid | Restrict access and follow the facility's exposure-control and compatible-disinfectant procedure | Mixing chemicals or improvising disinfection |
A Simple Home-Gym Cleaning Schedule
- After each workout: blot spills, remove visible chalk, and wipe contact areas on equipment separately.
- Weekly or as soil appears: vacuum traffic lanes, beneath movable benches, and around machines.
- Periodically: damp-clean the full floor using the product's maintenance procedure; increase frequency for shared gyms, outdoor shoe traffic, pets, or humid rooms.
- At every cleaning: inspect seams, edges, anchors, soft spots, trapped moisture, and changes in traction.
Cleaning by observed soil and use is more reliable than one universal calendar.
Five Mistakes That Create More Work
- Wet-mopping before removing grit.
- Guessing at detergent concentration.
- Using the same dirty mop water across the room.
- Leaving cleaner or rinse water to air-dry on the surface.
- Rolling heavy equipment back before the floor and seams are fully dry.
If the flooring has changed color, softened, curled, separated, or developed a persistent odor, pause cleaning and contact the manufacturer or installer with the product name, photos, cleaner used, dilution, and installation date.
Sources and Manufacturer Guidance
Requirements can vary by product, model, and situation. These primary sources informed this guide; official instructions for your exact product and current authoritative guidance take priority.
Frequently Asked Questions
-
Do not assume so. Acidic cleaners may be excluded by the care instructions for the rubber, finish, or adhesive. Use the cleaner and dilution approved for the exact flooring.
-
Only if the flooring manufacturer identifies the specific chemistry and concentration as compatible. Cleaning and disinfection are different tasks, and mixing products can be hazardous.
-
Not unless the manufacturer explicitly permits it. Heat and moisture can affect seams, finishes, adhesives, and the subfloor.
-
Common causes include overdosed detergent, dirty solution redeposited on the floor, or incomplete rinsing and recovery. Stop training on a slick surface and follow the product's residue-removal instructions.
-
Check the mat maker's instructions and the installation environment. Pressure can drive water into seams or beneath material, and an indoor floor may not have drainage or a moisture-safe subfloor.