How to Clean a Sauna Without Damaging the Wood or Heater
The short answer: let the sauna cool completely, switch off and isolate power as the manual directs, remove loose debris, then clean unfinished wood with a small amount of warm water and a sauna-approved mild cleaner. Use a soft brush along the grain, remove cleaner residue, and dry the room with ventilation and the manufacturer-approved drying cycle.
Traditional and infrared saunas are not cleaned exactly the same way. Never spray water onto a heater, control, sensor, infrared emitter, wiring opening, or fan. The cabin and heater manuals override general advice, especially for treated wood, glass coatings, electronics, and removable stones.
What You Need—and What to Leave Outside
- A vacuum with a soft brush attachment or a dry hand brush
- Two microfiber cloths
- A soft natural- or nylon-bristle hand brush
- A bucket with a modest amount of warm water
- A sauna cleaner or mild detergent approved for the cabin material
- Protective gloves and the sauna and heater manuals
Avoid pressure washers, steam cleaners, abrasive pads, paint, lacquer, household furniture polish, and unapproved bleach or solvent cleaners. Do not combine an acidic descaler with a chlorinated product. Harvia specifically warns against using its acidic heater cleanser with chlorinated substances.
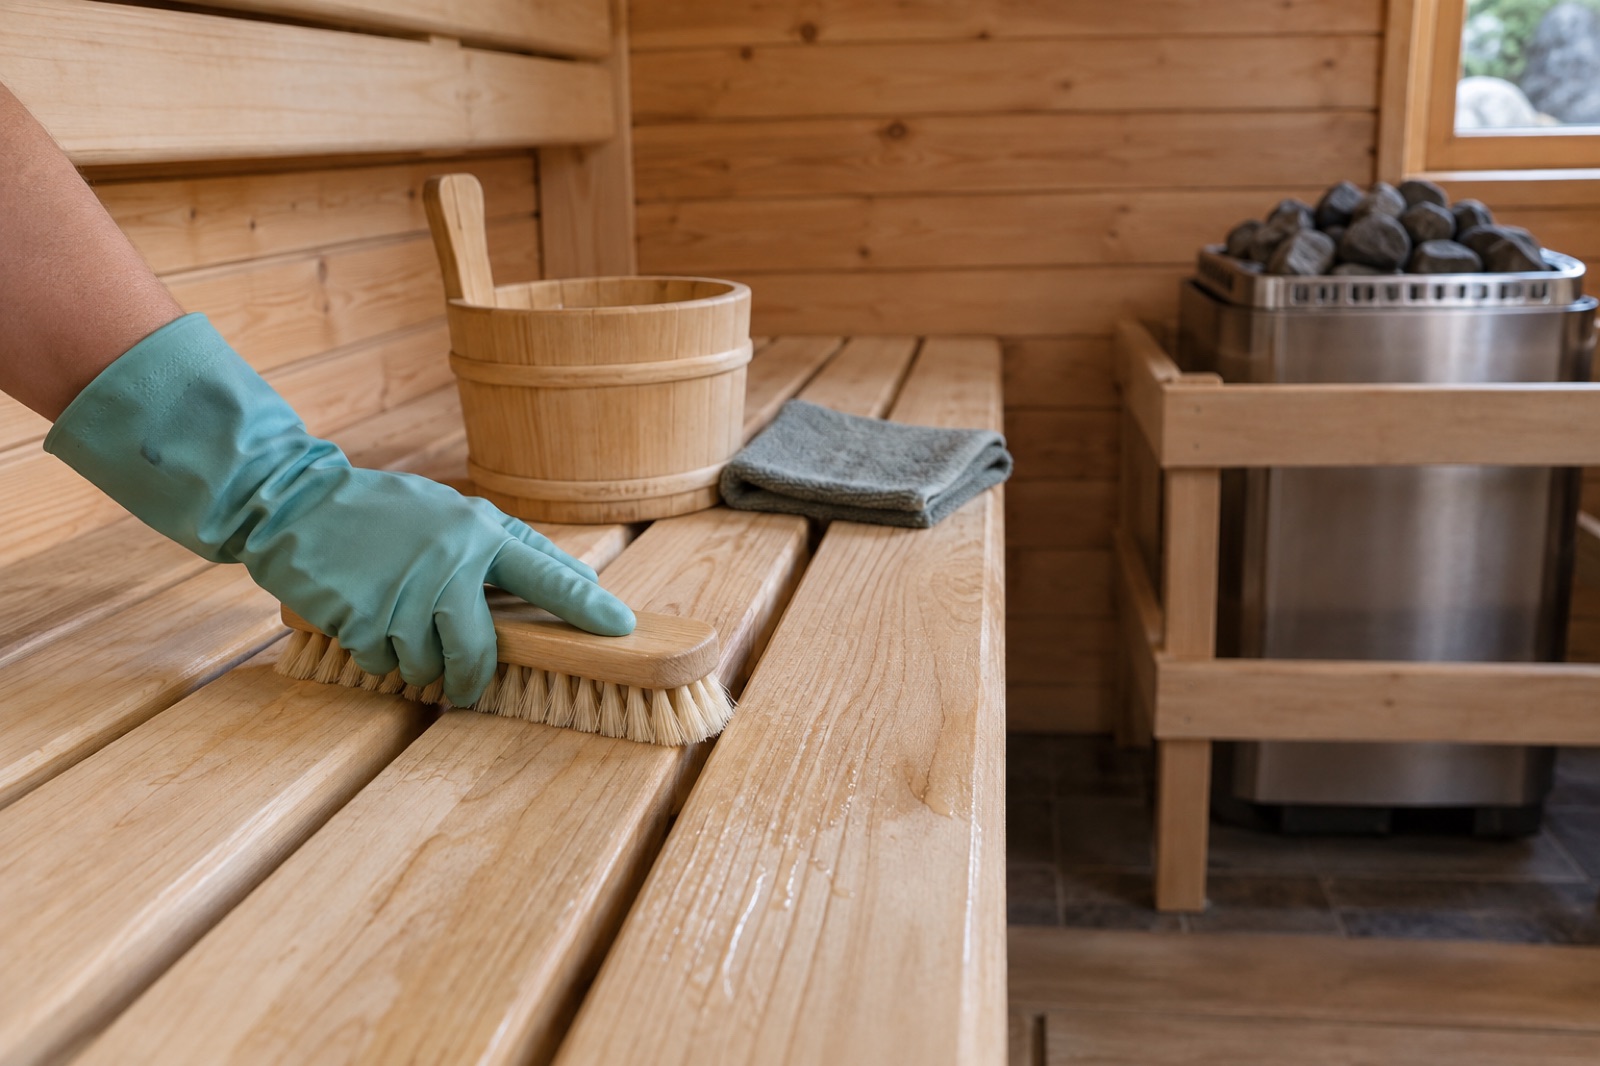
How to Clean a Traditional Sauna
- Cool and power down. Wait until the heater and stones are completely cool. Switch off the heater and disconnect it at the breaker or other isolation point if the manual requires this for cleaning.
- Remove accessories. Take out towels, mats, buckets, headrests, and any removable floor grid. Launder textiles separately.
- Dry-clean first. Sweep or vacuum hair, dust, leaves, and grit from benches, under bench frames, corners, vents, and the floor. Keep the nozzle away from sensors and wiring.
- Clean from top to bottom. Wipe lightly soiled wall panels with a damp cloth. For unfinished benches, apply the approved diluted cleaner with a cloth or soft brush and work along the wood grain.
- Remove the residue. Use a clean damp cloth or the limited rinse method in the cabin manual. Do not flood joints or leave standing water beneath benches.
- Clean the floor and glass. Use products compatible with the specific tile, sealed floor, drain, and glass. Keep overspray off wood and electronics.
- Wipe the heater exterior only as directed. A cool heater exterior can generally be wiped with a damp cloth. Use a model-approved scale treatment only on compatible surfaces, never inside electrical openings.
- Dry completely. Replace removable parts only after they are dry. Open the designed vent and door as directed; use the heater drying cycle only if the manufacturer permits it.
Traditional vs. Infrared Sauna Cleaning
| Area | Traditional electric sauna | Infrared sauna |
|---|---|---|
| Heat source | Cool heater exterior and stones; follow heater manual | Emitters, guards, fans, and controls stay dry unless the manual gives a damp-cloth method |
| Wood | Often unfinished benches and paneling; use limited water and sauna-approved cleaner | May combine wood with fabric emitter covers or electronics; clean each material separately |
| Moisture | Some cabins permit careful rinsing of benches and wet-room floors | Usually favor a well-wrung cloth; never assume the cabin can be rinsed |
| Stone care | Inspect, re-stack, clean, or replace only on the heater maker’s schedule | Normally no sauna stones unless it is a hybrid model |
| Drying | Ventilation and, where approved, a short heater-assisted drying period | Ventilation with the unit off unless its manual provides another process |
A Cleaning Schedule That Prevents Deep Scrubbing
| Frequency | Tasks |
|---|---|
| After each session | Remove towels and bucket, wipe sweat or water drops, clear plant material, and leave the sauna in its approved drying configuration |
| Weekly or every few sessions | Sweep or vacuum the floor, wipe high-touch surfaces, wash accessories, and inspect for odor or damp areas |
| Every 1–4 months | Clean beneath removable grids and benches, wash glass and floor, inspect vents, fasteners, seals, and visible heater surfaces |
| One to three times per year | Perform a full cabin clean; Harvia gives this range for a family sauna, while some heater manuals call for a thorough wash at least every six months |
| At the heater’s interval | Inspect or re-stack stones, remove debris, and replace crumbling stones according to the exact heater manual |
Stains, Odor, and Suspected Mold
- Sweat or water marks: use the approved cleaner and soft brush first. Aggressive sanding removes material and can create an uneven surface.
- Dark surface marks: when the manufacturer permits it, lightly sand completely dry unfinished wood with the specified grit, working evenly with the grain.
- Musty odor: clean and dry the cabin, then inspect under benches, floor grids, vents, wall penetrations, and the room around the sauna for trapped moisture.
- Recurring growth, soft wood, or spreading discoloration: stop use and arrange a moisture and ventilation assessment. Surface cleaning will not solve a leak or hidden growth.
Do not cover stained or damp interior wood with paint, lacquer, or a household sealer. Harvia warns against lacquer on interior sauna surfaces and recommends only treatments made for the intended sauna wood.
Stop Cleaning and Arrange Service When
- The heater, controller, sensor, cable, or infrared panel is cracked, scorched, loose, wet inside, or unusually discolored.
- You smell burning, hear abnormal fan or electrical noise, or a breaker trips.
- Bench supports move, fasteners protrude, glass is chipped, or a door does not close safely.
- Stones are crumbling into the heater or the heater’s required clearances are obstructed.
- Water has entered an electrical opening or standing water cannot drain.
Leave the sauna off and have the appropriate manufacturer-authorized technician, electrician, carpenter, or moisture professional inspect it.
Planning a new installation instead? Our home sauna cost guide covers the line items that are commonly missed.
Sources and Manufacturer Guidance
Requirements can vary by product, model, and situation. These primary sources informed this guide; official instructions for your exact product and current authoritative guidance take priority.
Frequently Asked Questions
-
Only on surfaces and at a dilution approved by the sauna or heater manufacturer. Harvia mentions vinegar or citric acid for compatible heater-exterior scale, but that does not make vinegar a universal wood, stone, glass, or electronics cleaner.
-
Do not use it unless the cabin manufacturer explicitly approves the product, dilution, surface, and rinse method. Bleach can discolor wood, corrode metal, produce irritating residue, and react dangerously with acidic cleaners.
-
Remove moisture and debris after each session, clean high-touch areas routinely, and schedule a full clean based on use. Harvia suggests one to three full cleanings per year for a family sauna; a frequently shared sauna needs more.
-
Only if the sauna manufacturer recommends a specific treatment for that wood. Harvia recommends paraffin oil for compatible untreated benches and suggests testing an inconspicuous area because it can deepen the color.
-
Some heater manufacturers permit cool stones to be removed, brushed or rinsed, inspected, and re-stacked. Follow the exact heater manual because stone type, loading pattern, element access, and replacement intervals vary.